Custom Domains
Set up branded domains for professional link shortening and improved trust
Custom domains allow you to use your own branded domain for UTM link shortening instead of the default utmlink.net. This creates a more professional appearance and increases trust with your audience.
utmlink.net/abc123, you can use links.yourcompany.com/abc123for a fully branded experience that builds trust and recognition.Professional Branding
Use your own domain for a consistent brand experience
Improved Trust
Recipients trust links from your familiar domain
Better Click Rates
Branded links typically see 34% higher click-through rates
Full SSL Security
Automatic SSL certificates ensure secure connections
Pending Verification
Domain added but DNS verification pending
Next Steps:
- Configure DNS records
- Wait for propagation
- Verify setup
Active & Verified
Domain is verified and ready for use
Next Steps:
- Create UTM links
- Monitor analytics
- Share with team
Verification Failed
DNS configuration incorrect or incomplete
Next Steps:
- Check DNS records
- Contact hosting provider
- Re-verify domain
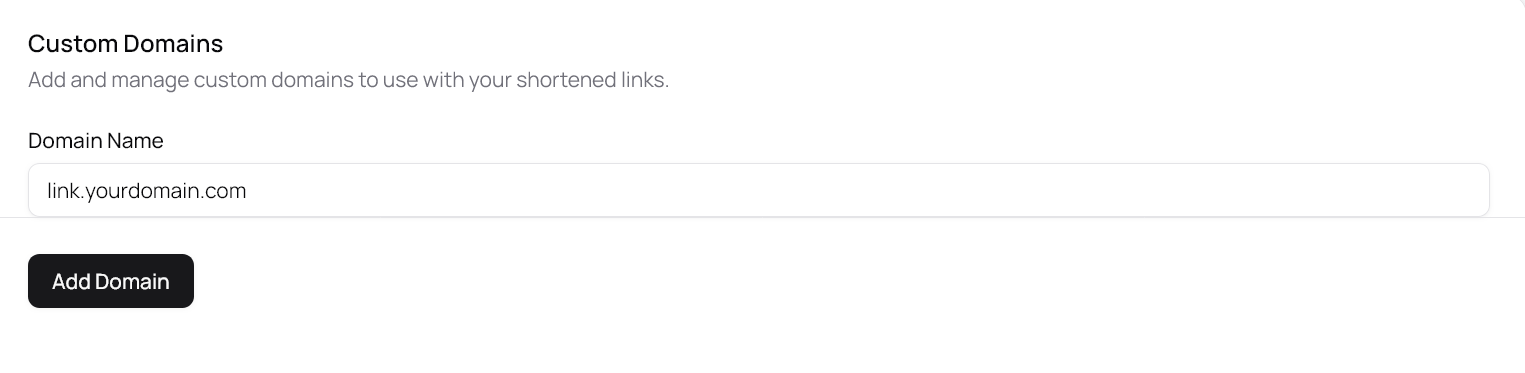
Add Your Domain
Enter your custom domain in the UTM Manager dashboard.
Use a subdomain like 'links.yourdomain.com' for better organization.
Domain format: subdomain.yourdomain.com
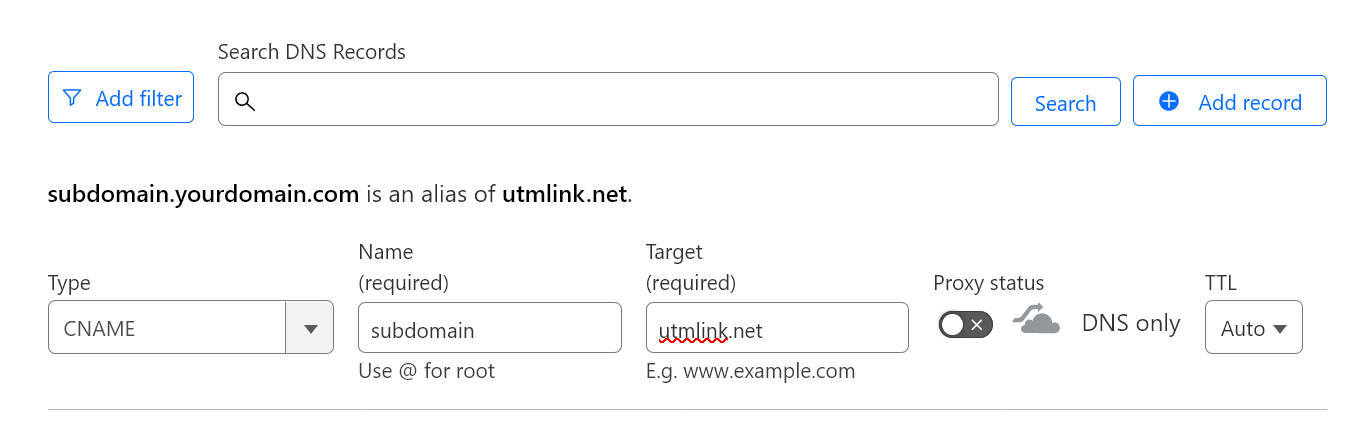
Configure CNAME Record
Add a CNAME record in your DNS provider pointing to our servers.
This tells DNS where to route traffic for your custom domain.
CNAME: links.yourdomain.com → utmlink.net
Wait for Propagation
DNS changes can take up to 48 hours to propagate globally.
Most changes take effect within 5-15 minutes, but allow up to 48 hours.
TTL: 300 seconds (5 minutes) recommended
Verify & Activate
Click the 'Verify' button in the domains page to check your domain configuration and generate SSL certificates.
Once verified, your domain will show as 'Active' and be ready to use.
SSL certificate auto-generated via Let's Encrypt

- 1Log into Cloudflare dashboard
- 2Select your domain
- 3Go to DNS management
- 4Add CNAME record with provided values
- 5Set proxy status to 'DNS only' (gray cloud icon)
- 1Access GoDaddy DNS Manager
- 2Find DNS Zone Editor
- 3Create new CNAME record
- 4Save changes and wait for propagation
- 1Login to Namecheap account
- 2Go to Domain List
- 3Click 'Manage' next to your domain
- 4Add CNAME in Advanced DNS tab
- 1Open Route 53 console
- 2Select hosted zone
- 3Create record set
- 4Configure CNAME with target value
Domain Selection
- Use subdomains like 'links.yourdomain.com'
- Keep subdomain names short and memorable
- Consider regional domains for international teams
DNS Configuration
- Set TTL to 300 seconds for faster updates
- Verify CNAME target is exactly 'utmlink.net'
- For Cloudflare: Use 'DNS only' (gray cloud) not 'Proxied'
- Remove any conflicting A or AAAA records
Domain verification failing
The most common issue is incorrect CNAME configuration or DNS propagation delays. Remember to click the 'Verify' button in the domains page.
Solution: Use online DNS checker tools to verify CNAME record is correctly pointing to utmlink.net, then click 'Verify' in the dashboard.
SSL certificate issues
SSL certificates are automatically generated but may take a few minutes after domain verification.
Solution: Wait 5-10 minutes after verification and refresh the domain status.
Domain shows as 'Failed'
This indicates DNS records are not configured correctly or are not propagated yet.
Solution: Double-check DNS settings and wait for full propagation (up to 48 hours).
Cannot access custom domain links
Links may not work if the domain is not fully verified and SSL certificate is not active.
Solution: Ensure domain status shows 'Active' and SSL certificate is properly configured.
What's Next?
With your custom domain set up, you're ready to create professional branded links and organize your campaigns.